
Atari 2600 vs. Atari 5200: four direction switches became two position sensors
Atari's repair instructions give collectors a better question for a seller than whether an old console powers on. A working fire button leaves plenty untested.
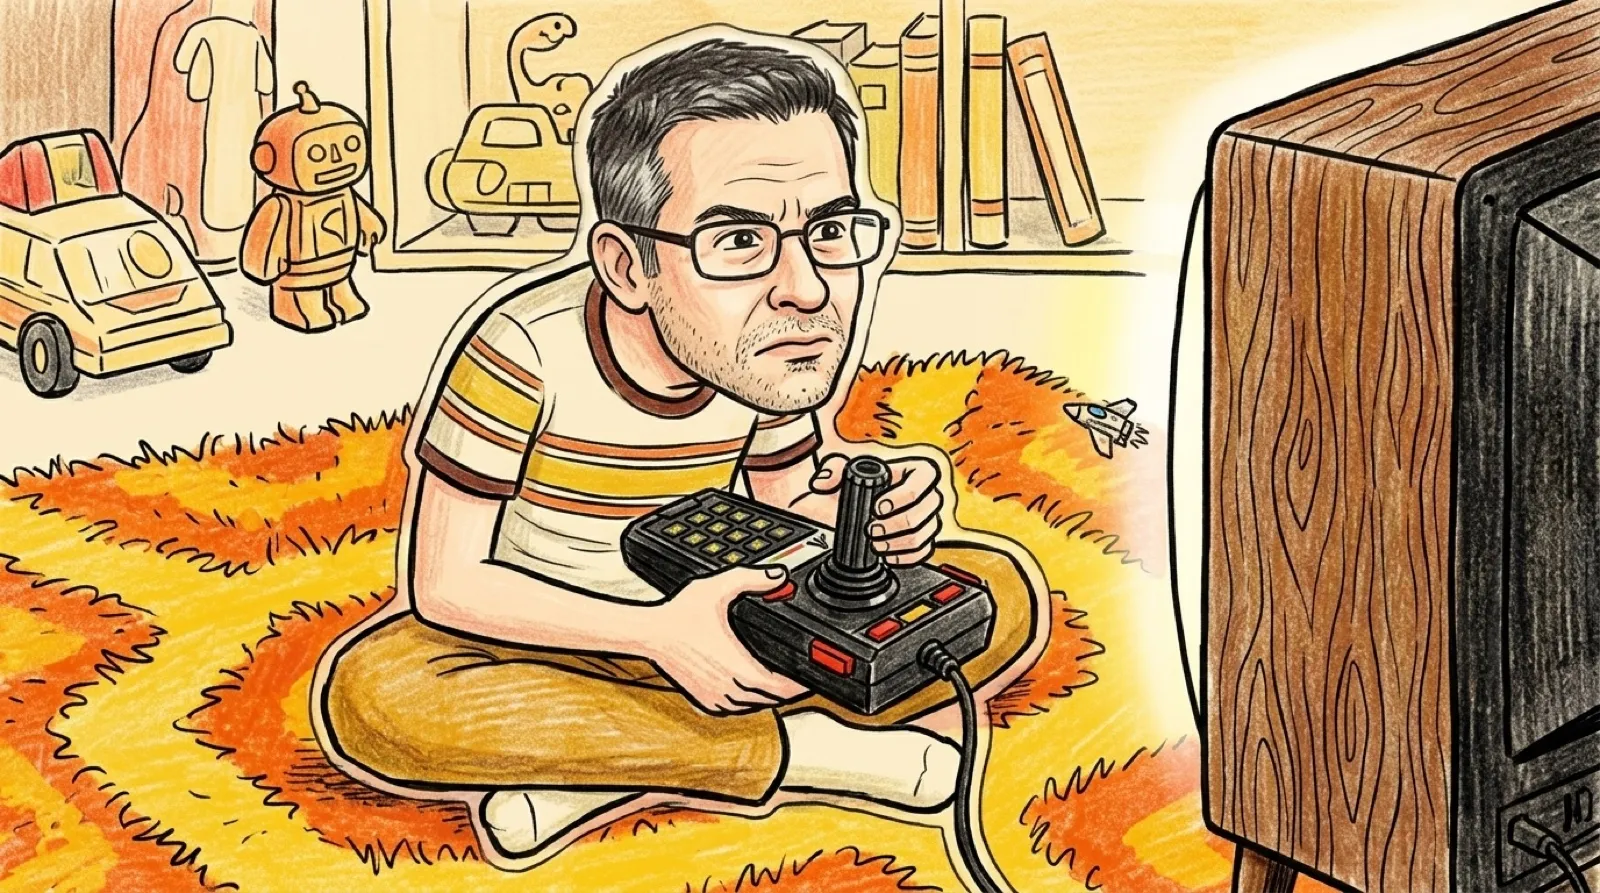
A joystick can fire successfully and still fail the part where it, you know, steers. Atari’s 5200 service manual separates the directional checks from the fire-button checks, which makes a seller’s quick demonstration a little less reassuring.
The Atari 2600 and Atari 5200 both put a stick in your hand. Underneath, they ask different questions about what that hand is doing. That distinction matters when a controller needs attention: a direction that barely registers calls for evidence beyond a successful button press.
Atari’s Stella Programmer’s Guide, preserved in an unofficial HTML transcription, maps each player’s four direction bits to right, left, down and up. A zero means the associated switch has closed. It is the electrical equivalent of a light switch: the important information is whether the contact is closed.
The 5200 manual’s controller chapter, printed pages 6-1 through 6-9, goes further into the moving parts. Two sliding actuator plates move the arms of two potentiometers, or variable resistors. Position becomes a measurement. The joystick has pots; a repair needn’t go to pot with it.
| What the stick reports | Atari 2600 | Atari 5200 |
|---|---|---|
| Direction mechanism | Four directional switch states | Two variable resistors moved by actuator plates |
| What a useful direction test examines | Whether each direction’s contact registers | Whether position readings change evenly across the travel |
| Repair detail in the cited documentation | Direction bits and their switch states | Cable continuity, pot-arm alignment and actuator plates |
The comparison counts the same job on both sides: detecting stick movement. Four switches becoming two sensors does not mean half the control or twice the reliability. Counting components is a particularly unhelpful way to choose a joystick when the components measure different things.
Atari’s console-assisted 5200 test calls for a known-good, properly adjusted console and its version 1.1 diagnostic cartridge. The technician moves the stick between the illustrated positions while watching readings change. The manual says there should be “no extreme or sudden changes.” A controller can reach both ends and still misbehave in between, rather like a volume knob that jumps straight from whispering to waking the neighbors.
The manual also provides an ohmmeter procedure for testing without a console, including connector pins and resistance requirements. That gives a restorer a documented alternative to guessing from how a game behaves. Those instructions belong beside the actual controller on the bench; a vague “tested” in a listing doesn’t tell a buyer which checks happened.
Atari directs the technician to check the cable before proceeding with pot-arm alignment. The alignment procedure then removes an arm from its wiper shaft, adjusts the shaft electrically and refits the arm in the illustrated position. After reassembly, the technician measures through the cable again. Even the paperwork refuses to declare victory while the controller is still open.
Someone interested in inspecting individual direction contacts gets the clearer starting point from the 2600’s switch map. Someone specifically restoring a 5200 gets the relevant measurements from its service chapter. For someone buying either as a ready-to-play machine, a complete demonstration is worth more than a seller reciting specs (free entertainment, otherwise).
Future restorations could become much easier if sellers included the test method with the result: which controller, which diagnostic setup, which movements passed. Atari already supplied the distinction. The unknown in a particular listing is whether anybody actually followed it.
Press fire. Now try left.